

Salesforce and soapUI — Testing WebServices directly
by Patrick Connelly posted on February 03, 2012
In a previous post I talked about writing webservices for Salesforce. In this post I’ll discuss how to test your webservice with soapUI without having to write any additional code.
Getting soapUI
You will need to install the Open Source version of soapUI from their sourceforge. Go ahead, I’ll wait…
Getting the WSDLs
Now that you have soapUI installed we need to download our WSDLs. You’ll need the Enterprise WSDL which can be found at Setup-Develop-API. And you’ll need the WSDL for your webservice which can be found at Setup-Develop-Apex Classes, then find your class and click the WSDL link next to it. I suggest downloading them into a WSDL folder just for organization.
Setting up soapUI
Now that we’ve got all of our parts we need to create a new soapUI project. If you are testing multiple webservices I suggest you only create one soapUI project and import the additional webservices into it. This will make updating the enterprise WSDL easier, and will make your life less stressful.
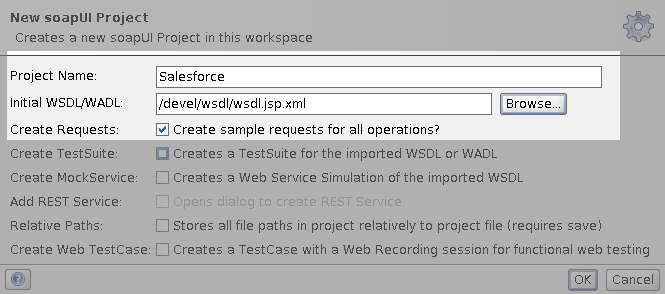
Right-click on Projects and select New soapUI Project and fill out the form with your information. Your intial WSDL should be the enterprise WSDL. You will at the very least want to have Create Requests checked. You can choose the other later if you want to.
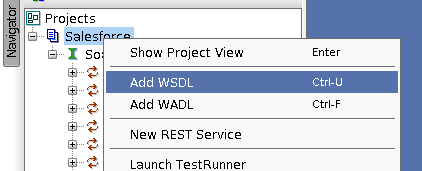
After creating the new project you will see a section called SoapBinding with several methods below it. These are standard Salesforce methods that are provided by the Salesforce Enterprise WSDL. Let’s ignore these for right now, and import our webservice. To add a new WSDL right-click on the project name, Salesforce in our case, and select Add WSDL.
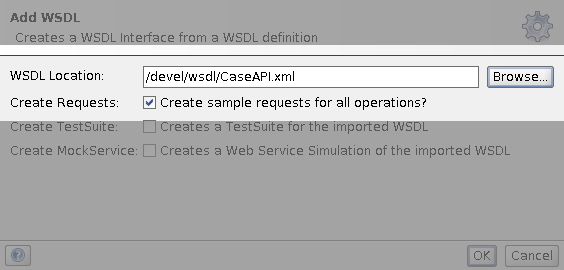
Then we want to choose our webservices WSDL
Using soapUI
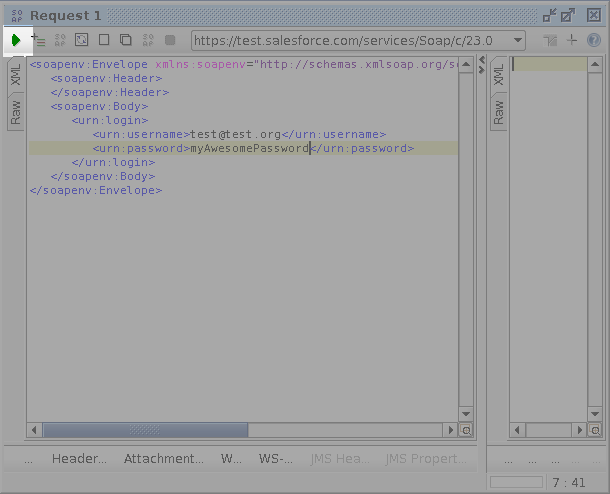
Now that we are all setup, let’s test our webservice. First we need to login to Salesforce and get our session Id. Under the SoapBinding list, expand login and choose Show Request Editor. After opening the request editor we need to remove the extra headers we don’t need, and fill in our username and password.
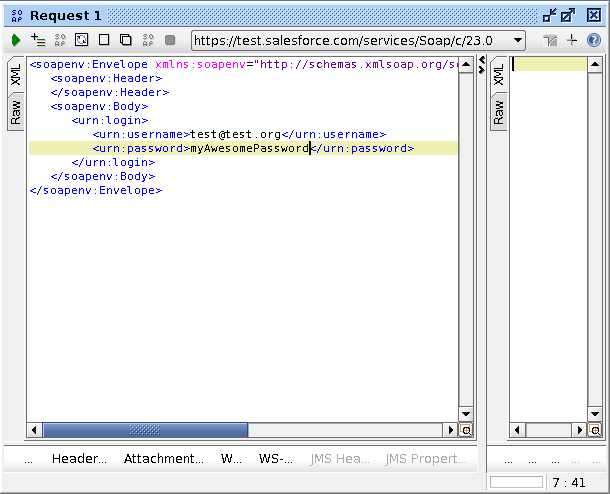
Then press the “play” button to send the request
Now in the resulting XML we can pull out our session Id
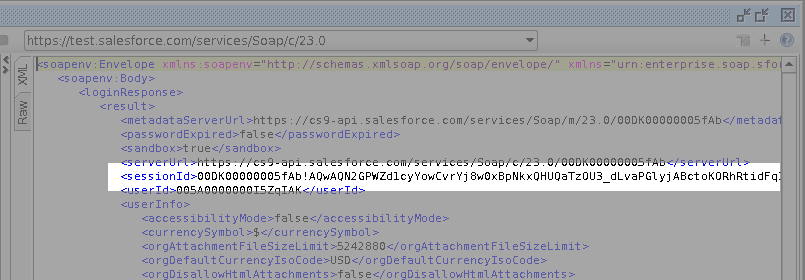
Copy the session Id and we will use it to make a request to our webservice. In the example below I am calling the search method on my CaseAPI. Again, we can remove almost all of the header out of the request. The only section we need to leave is the SessionHeader and SessionId.
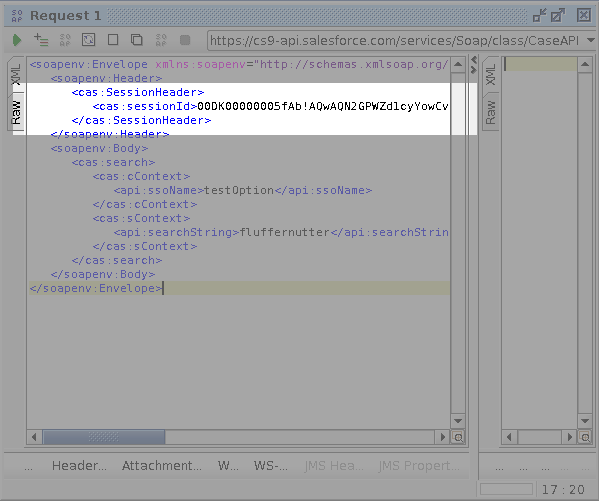
Then fill in the request to your webservice. This will all depend on how yours is designed. In the webservice call below, we pass in two context objects. One takes in an ssoName and the other takes in a searchString. Then as before click the “play” button and you’ll get your response back.
Conclusion
SoapUI is a great tool to help test webservices out. You can use it to build up tests, but that’s another post. I use it all of the time to verify that Salesforce is returning the correct data from my webservice instead of trying to write against the webservice and trying to determine if my client is messing up.