

Pi-hole setup on Raspberry Pi Zero
by Patrick Connelly posted on February 11, 2019
If you’ve not noticed, ads on the internet are everywhere. On my personal machine, I run uMatrix in chrome and it works great for blocking things but that’s not really an option for all devices (like mobile phones) or for all users (like my wife and kids). This is where Pi-hole comes in.
Pi-hole is an application that runs a customized DNS (Domain Name System) server that whenever a system using it tries to look up the name of and if it’s on the Pi-hole’s blacklist it pretends that the host doesn’t exist. Thus your device can’t see the ad server and then can’t load the ad.
Setup
Hardware
While the Pi-hole software can be installed on lots of operating systems and even Docker, I chose to run it on a Raspberry Pi Zero W because I want this to be able to run independent of any other systems. So if I need to update my NAS/server/etc I don’t lose DNS access while it’s doing it’s thing.
Parts List
- Raspberry Pi Zero W
- MicroSD Card
- Ethernet Adapter
- Case [Optional]
- Power Supply
Instead of buying the case, power supply and Pi Zero separately, you can buy them as a bundle and this might save you some money. I do like this bundle also because it includes an adapter for Mini-HDMI to HDMI as well as a Micro-USB OTG adapter.
Because this system needs to have internet access at all times for 99% of your network to work I would recommend using a hard wired connection over Ethernet instead of WiFi. You can use the built-in WiFi module but you might need a script to reboot the Pi if the WiFi goes down.
Installing Pi-hole
First you’ll want to get the Raspberry Pi Z set up with an operating system (I recommend Raspbian) and there are lots of better places to learn how to do that. After you have it installed, set up a static IP address (either at your router or on the device) so you can use it in later steps. Then follow the installation instructions of your choice. I chose the “One-Step Automated Install” but you my not want to because piping to bash can be a bit dodgy.
Implementation
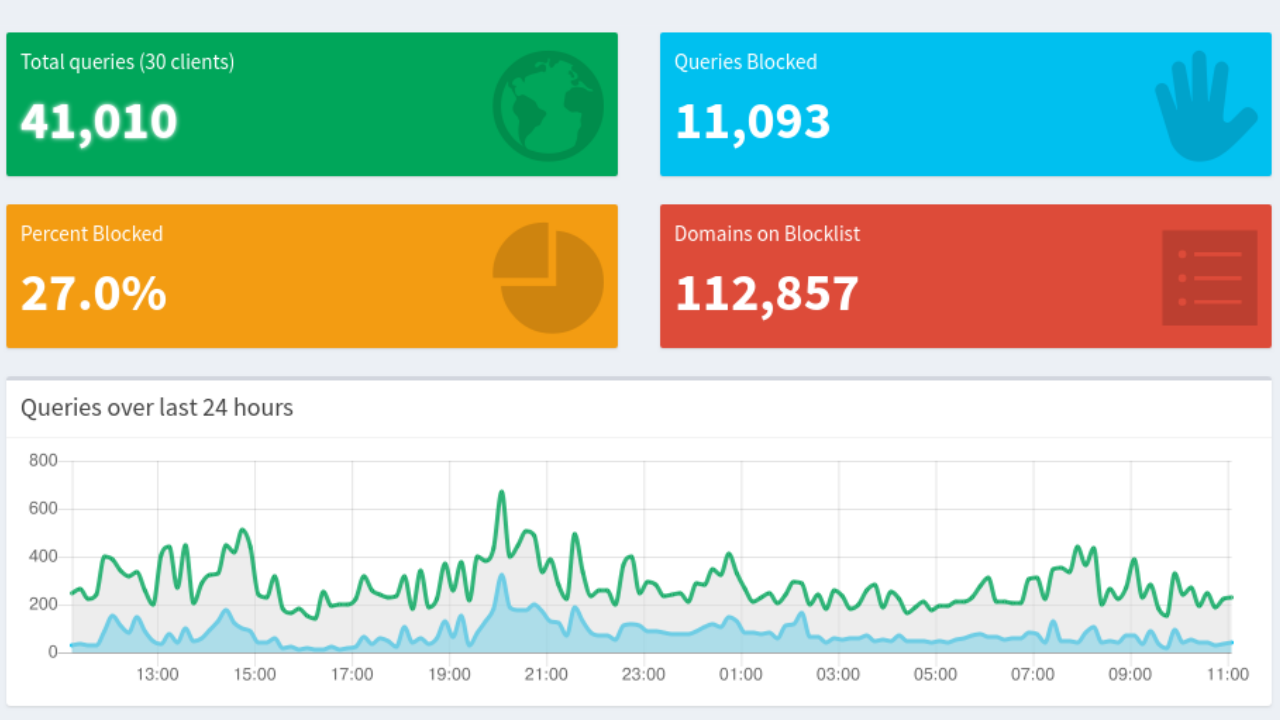
Once you’ve installed it, you’ll want to verify that it works. Take a system and change it’s DNS server to be the IP address of your new Pi-hole system. Then goto http://pi.hole and login. You can test it out by going to some various sites and see if you get any ads. You can also monitor it on the Pi-hole interface to see when you have denied queries.
Once you’re happy with your testing, modify your router’s DHCP setup to point to your Pi-hole for DNS. It’s very important to only have your Pi-hole as the DNS server and not try to use multiple. While the DNS configuration may seem like it will just fall-back to your second choice, it won’t always. The DNS queries can be distributed over all of the servers provided by DHCP thus negating all of our hard work.
Optional Steps
If you have your own local DNS hosts (like you’re using Ubiquiti for host configurations) you can add Conditional Forwarding to another DNS server (such as your router) for any local domain name. This is really useful for being able to still refer to your local machines by a hostname instead of using the IP address.
If you want, you can have Pi-hole run a DHCP server and manage all of the hostnames inside of it. I personally don’t do that because I’d rather have all of my DHCP servers running in Unifi but the functionality is there.
Problems
Since setting this up, I’ve not had too many problems. Mostly the problems have been on mobile apps that don’t behave correctly. I’ve either just learn to deal with it, or disabled Pi-hole (via the web interface) for a couple of minutes to do what I need to do. Alternatively, if you have someone in your household that just can’t stand having it running, you can just modify their connection to use a static configuration with a public DNS sever like 1.1.1.1 or 8.8.8.8.
Also, it’s important to note that this will NOT stop anyone on the network from changing their DNS server (like I mention above) and just bypassing your Pi-hole. You can modify some router rules to redirect all DNS traffic to your Pi-hole, but YMMV. (I only really note this because it seems that some devices like will pull a DHCP address but will hard-code their own DNS server).