

Single Sign-On in Salesforce with Google
by Patrick Connelly posted on March 05, 2019
I started down this path to flesh out a proof of concept for a related task. However, the Single Sign-On provider that we use is difficult to get access to and not worth the time to try to get permission to use it. So instead, I thought I’d just use my personal Google domain as the identity provider so I can get it done faster. So I’ve decided to document my journey and hopefully help someone else set this up.
Prerequisites
Before you can start, you must have My Domain configured and setup.
- Navigate to Setup ⇨ Domain Management ⇨ My Domain
- Choose your domain name
- Click Check Availability
- Click Register Domain
- After you’ve tested your domain, you MUST deploy your domain to users by clicking Deploy to Users
- From this page, remember / copy the Your domain name is **
** since we'll be using that in lots of steps moving forward
Setup the Single Sign-On Configuration
I’ve found the easiest way to do this requires a bit of jumping back and forth between the Google admin console and Salesforce setup. So I recommend keeping each open in their own tab and switching back and forth between them
Google Admin Console
- Open the SAML Apps page
- Click + to add a new App
- Filter Apps for “Salesforce”
- Choose the correct service for production or sandbox
- Under Option 2 click Download next to IDP metadata
- Click Next
Salesforce Setup
- Navigate to Setup ⇨ Security Controls ⇨ Single Sign-On Settings
- Click Edit
- Check SAML Enabled
- Click Save
- Click New from Metadata File
- Choose the GoogleIDPMetadata XML file downloaded from above
- Click Create
- Choose Assertion contains the Federation ID from the User object
- Optionally change the Name and API Name field. This will be displayed on the login page
- Click Save
Google Admin Console
- Starting on Step 3 of 4
- Click Next
- Replace {domain specific} in all fields with your **
** from the my domain settings - Copy the Login URL from your SAML Single Sign-On Settings page from the step above into the ACS field. This will contain your org Id at the end of the URL
- IMPORTANT Make sure your Entity ID _field matches _EXACTLY_ the _Entity ID field in your SAML configuration in Salesforce. By default the Google one will have a trailing slash while Salesforce will not.
- Click Next
- Navigate back to your SAML Apps listing page
- Click the three dots to the left of your Salesforce Application
- Click ON for everyone
- Click TURN ON FOR EVERYONE (NOTE: This may take up to 24hrs to propagate)
Enable the Authentication Service
- Navigate to Setup ⇨ Domain Management ⇨ My Domain
- Click Edit in the Authentication Configuration Section
- Check the box next to your SAML Service created above
- Click Save
Configure Your Users
- Navigate to Setup ⇨ Manage Users ⇨ Users
- Click Edit next to a user
- Modify the Federation ID to be the Google email address of that user
- Click Save
Testing
- Navigate to your My Domain URL
- Under the Username and Password box there should now be an option to Or log in using with the name of your SAML Service. Click the name
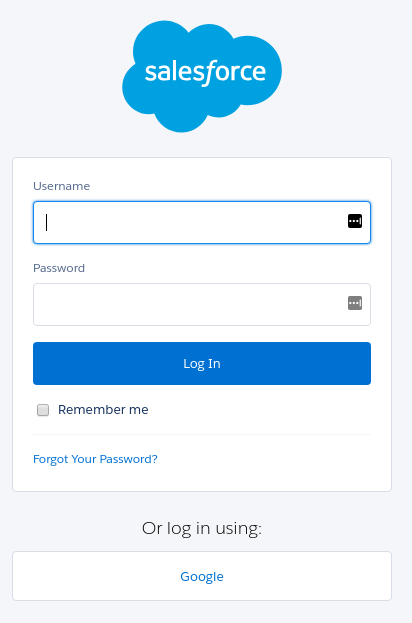
- Login with your Google credentials